
 English
 Español
 عربى
Content
- 1 Why Roof Access Hatches Matter on Industrial Buildings
- 2 The Main Types of Roof Access Hatch
- 3 Sizing, Clearance and Load Basics
- 4 Safety Features Worth Insisting On
- 5 Materials and Finish for Harsh Roof Environments
- 6 Matching the Hatch to Other Roof Openings
- 7 Where Smoke Ventilation Fits In
- 8 Installation Details That Keep Water Out
- 9 Maintenance Habits That Keep a Hatch Reliable
- 10 Choosing a Supplier for the Whole Roof Package
A roof access hatch is one of those quiet pieces of hardware that nobody notices until the day a technician has to reach an air handling unit, clear a blocked drain, or inspect a roof membrane. In plain terms, it is a framed opening in the roof deck with a gasketed, insulated cover that opens from inside the building, giving maintenance crews a weather-tight and controlled way onto the roof instead of a ladder leaning against a wall. On steel structure factories, warehouses and commercial buildings, that single opening often decides how safely and how regularly the roof actually gets looked after.
Why Roof Access Hatches Matter on Industrial Buildings
A hatch is not glamorous, but it quietly solves several problems at once. Because the cover is insulated and gasketed, it keeps rain and dust out while still offering a full-size opening when work has to be done. It also gives the building owner one lockable point of entry that can be restricted to trained staff, which is far easier to manage than a scattering of ladders and unrecorded trips to the roof.
For most industrial facilities, the practical benefits come down to a short list:
- A safe internal route to the roof, away from traffic and ladder hazards
- Fewer footsteps across the wrong parts of the waterproofing membrane
- A predictable place to pass tools, filters and spare parts up and down
- A lockable opening that can be logged as part of a permit system
- Better alignment with fall-protection and workplace safety expectations
The Main Types of Roof Access Hatch
Most hatches fall into a handful of familiar configurations, and the differences come down to how the cover moves, how the unit sits on the roof, and how much space the installer has to work with.
| Type | How the cover works | Where it fits best |
|---|---|---|
| Hinged hatch | Cover swings upward on hinges, often assisted by gas springs or a hold-open arm | Flat and low-slope roofs, and buildings with limited headroom inside |
| Sliding hatch | Cover slides horizontally along rails instead of swinging | Low interior spaces where an opening cover would block movement |
| Curb-mounted hatch | Unit sits on a raised curb that is flashed into the roof membrane | New built-up and single-ply roofs where a tall, well-drained curb is possible |
| Surface-mounted hatch | Base fastens closer to the deck with a lower overall profile | Retrofits and shallow roof assemblies where a tall curb is not practical |
Sizing, Clearance and Load Basics
Opening size is the first thing people argue about and the last thing they want to change later. A hatch used for routine personnel access is commonly around 24 by 36 inches (roughly 600 by 900 mm), while openings intended to pass equipment or a small pallet are often closer to 30 by 54 inches. It is worth measuring the largest item that will realistically travel through the opening before the curb is welded or cast.
Two other numbers deserve attention at the specification stage. The first is the rated live load of the cover; many manufacturers test their covers to a minimum of about 40 pounds per square foot, and the project specification should confirm that figure rather than leave it implied. The second is interior clearance. If the hatch sits above a fixed ladder or a mezzanine stair, the swing of the cover, the ladder cage and the standing space all have to be checked together, ideally on a shop drawing rather than on site.
Safety Features Worth Insisting On
Small details on a hatch do a lot of work, and they are usually cheaper to specify up front than to retrofit.
- Gas springs or a hold-open arm, plus a safety catch in case a strut ever fails
- A slip-resistant surface on both the inside and outside of the cover
- A latch that can be worked with gloved hands and padlocked when required
- Continuous gasketing and an insulated cover to reduce condensation drips
- Provision for guardrails or anchor points where the opening sits close to a roof edge
Materials and Finish for Harsh Roof Environments
Aluminium is the common default: light enough for one person to manage, naturally corrosion resistant, and available mill finish or powder coated. Galvanised steel costs less and takes knocks well, though it is heavier and depends on the coating holding up over decades. Stainless steel or a pultruded fibreglass unit is worth the premium in chemical plants, food processing, coastal sites and any building where aggressive vapours shorten the life of painted metal.
Look at the whole assembly rather than the cover alone: continuous EPDM or silicone gaskets, stainless hinges and fasteners, and an insulated core that does not crumble after a few seasons of thermal movement. A hatch rated correctly but assembled with mixed metals and cheap hardware will find a way to disappoint.
Matching the Hatch to Other Roof Openings
An access hatch is rarely alone up there. On a typical steel structure factory it sits beside daylighting panels, ventilation skylights, ridge ventilators and smoke vents, and all of those openings have to share one drainage plane and one sensible walkable layout.
Daylighting and access routes
The rule we usually pass on to clients is simple: keep access walkways clear of any opening that is not designed to be walked on. FRP daylighting panels are tough and light-diffusing, but they are not a footpath, so the hatch, the walkway and the panel layout are best set out together at the drawing stage rather than adjusted later on the roof.
 FRP General Purpose Daylighting Panel for Roofs and WallsFor roof and wall daylighting projects, this lightweight fiberglass panel offers selectable light transmittance, UV resistance, and optional edge reinforcement for planned roof layouts.View Product →
Ventilation openings
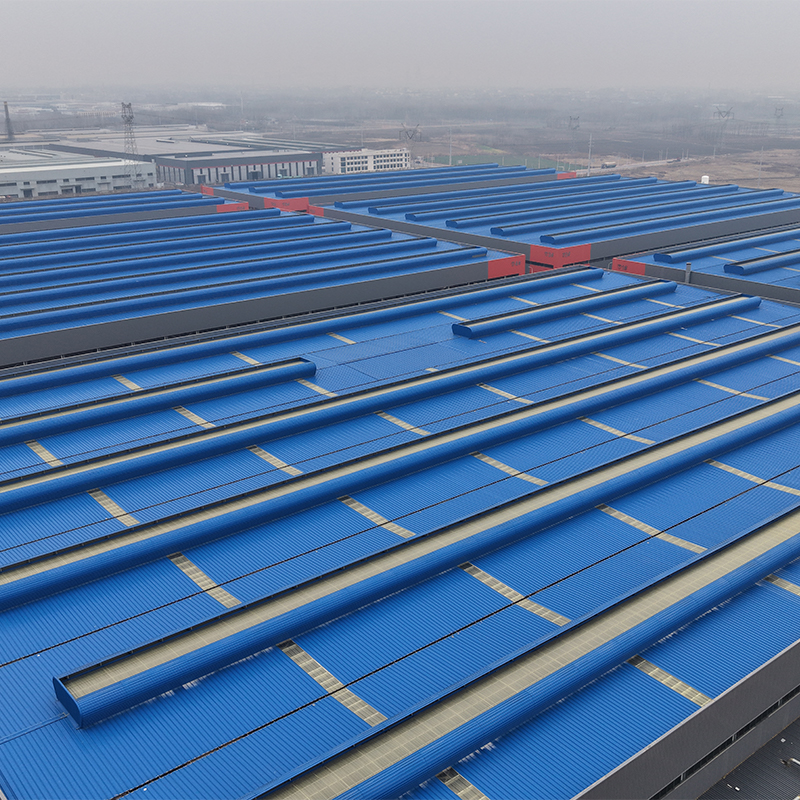
Natural ventilation skylights and roof ventilators often share the same roof zone as the hatch, and they usually sit on similar curbs. Standardising curb heights and flashing details across every opening saves a great deal of fiddling on installation day and makes future re-roofing far less painful.
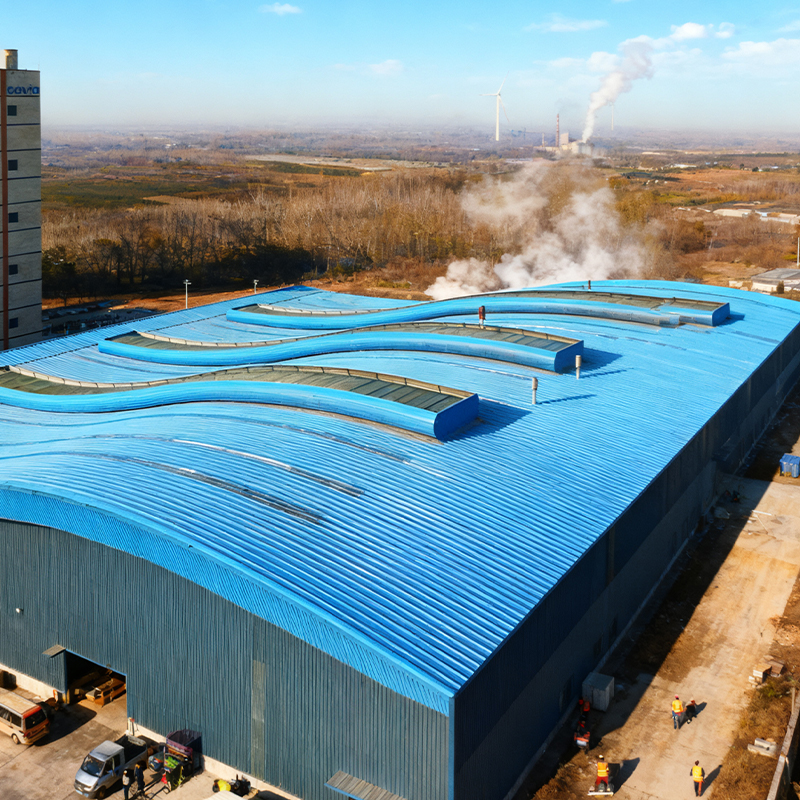 Streamlined Roof Ventilator for Natural Ventilation and Skylight ApplicationsA molded roof ventilator for stable natural ventilation, offering durable performance and customization for industrial plants seeking reliable and cost-effective airflow.View Product →
Where Smoke Ventilation Fits In
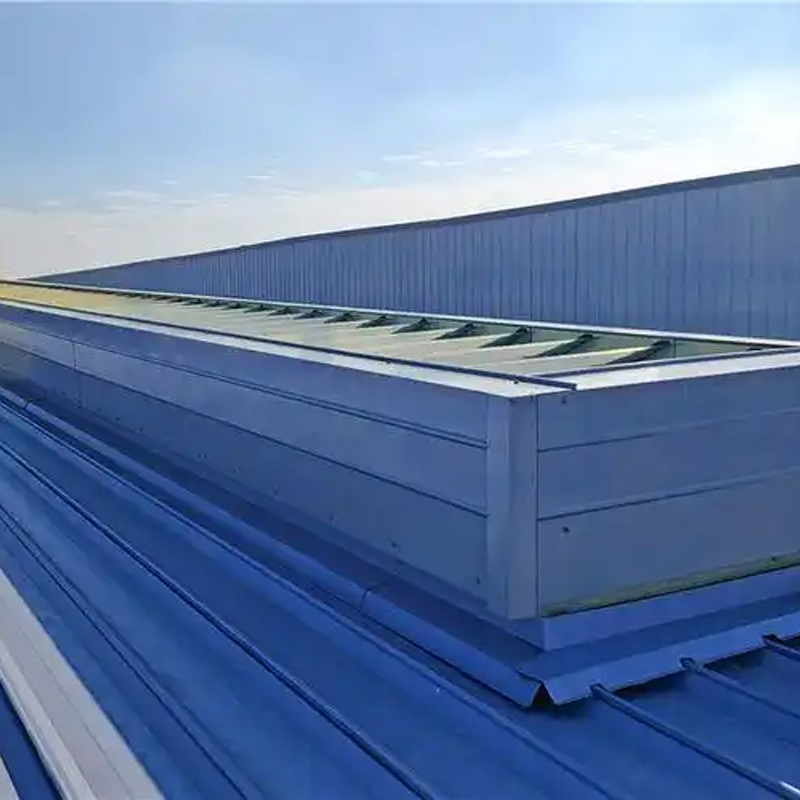
Smoke vent skylights are roof openings too, and they carry a job a hatch never has to do. In a fire they open automatically to release heat and smoke so that people can get out and firefighters can work inside. That role only holds up if the vents are positioned along the roof and not blocked by ductwork, equipment or a new access route added years later.
If your building already treats smoke vents as essential fire safety equipment, the hatch and the vents should be reviewed in the same drawing set, with fire alarm zoning and manual release locations considered early.
 Arched Smoke Ventilation Skylight for Industrial Smoke ExhaustAn arched roof skylight designed to guide hot smoke efficiently, suited to industrial buildings with concentrated heat sources and requiring high-capacity smoke extraction.View Product →
Installation Details That Keep Water Out
Almost every leaking hatch we hear about was installed with a detail that looked fine on the day. A few habits prevent most of them:
- Keep the curb at least 8 inches (about 200 mm) above the finished roof surface, and higher where snow and ponding are expected.
- Run a continuous bead of compatible sealant under the flange instead of dabbing it at the corners.
- Use the specified fasteners with sealing washers, and do not overtighten them into the gasket.
- Allow room for thermal movement between the curb and the hatch frame, especially on long metal roofs.
- Detail the counter-flashing so water from around the hatch reaches the same drainage path as the rest of the roof.
Maintenance Habits That Keep a Hatch Reliable
A ten-minute check twice a year is usually enough to keep a hatch working for a very long time.
- Wipe the gasket clean and look for cracking, compression set or missing sections
- Lubricate the hinges and confirm the hold-open arm or gas strut still supports the cover
- Clear leaves, debris and standing water from the cover and the curb
- Test the latch and the lock from both sides of the opening
- Check fasteners and touch up any scratched coating before corrosion starts
Choosing a Supplier for the Whole Roof Package
Because the hatch, the skylights and the vents share one roof, it often makes sense to source them together. Ask for shop drawings that show curb heights and flashing details, a stated live load for the cover, material and finish certificates, and clear warranty terms. When one supplier provides the daylighting and ventilation components as well, the detailing tends to line up far more easily.
We build these roof openings at our factory in Huai'an, Jiangsu, where our production lines cover FRP panels, skylights and ventilators. If you are weighing up the whole roof package, our team is glad to look at the drawings with you.
A roof access hatch does not need to be complicated. Get the opening size right, choose a cover that suits the environment, detail the curb properly, and check the hardware twice a year. Do that, and the hatch stays what it should be: a dependable, quiet way onto the roof for the next twenty years.
 Previous

 +86-0517-83520505

 No. 2 Xingfu Road, Sanshu Town, Huaiyin District, Huai'an City, Jiangsu Province, China
